However transferring large data files to it causes the network to hang. The realtek network interface had issues with freebsd from the beginning. On the screen and in syslog the entry “re0: watchdog timeout” is printed.
Most FreeBSD people recommends to use Intel nics, I ordered a new Intel nic at dx.com. After the installation of the new NIC the network seems to be stable again.
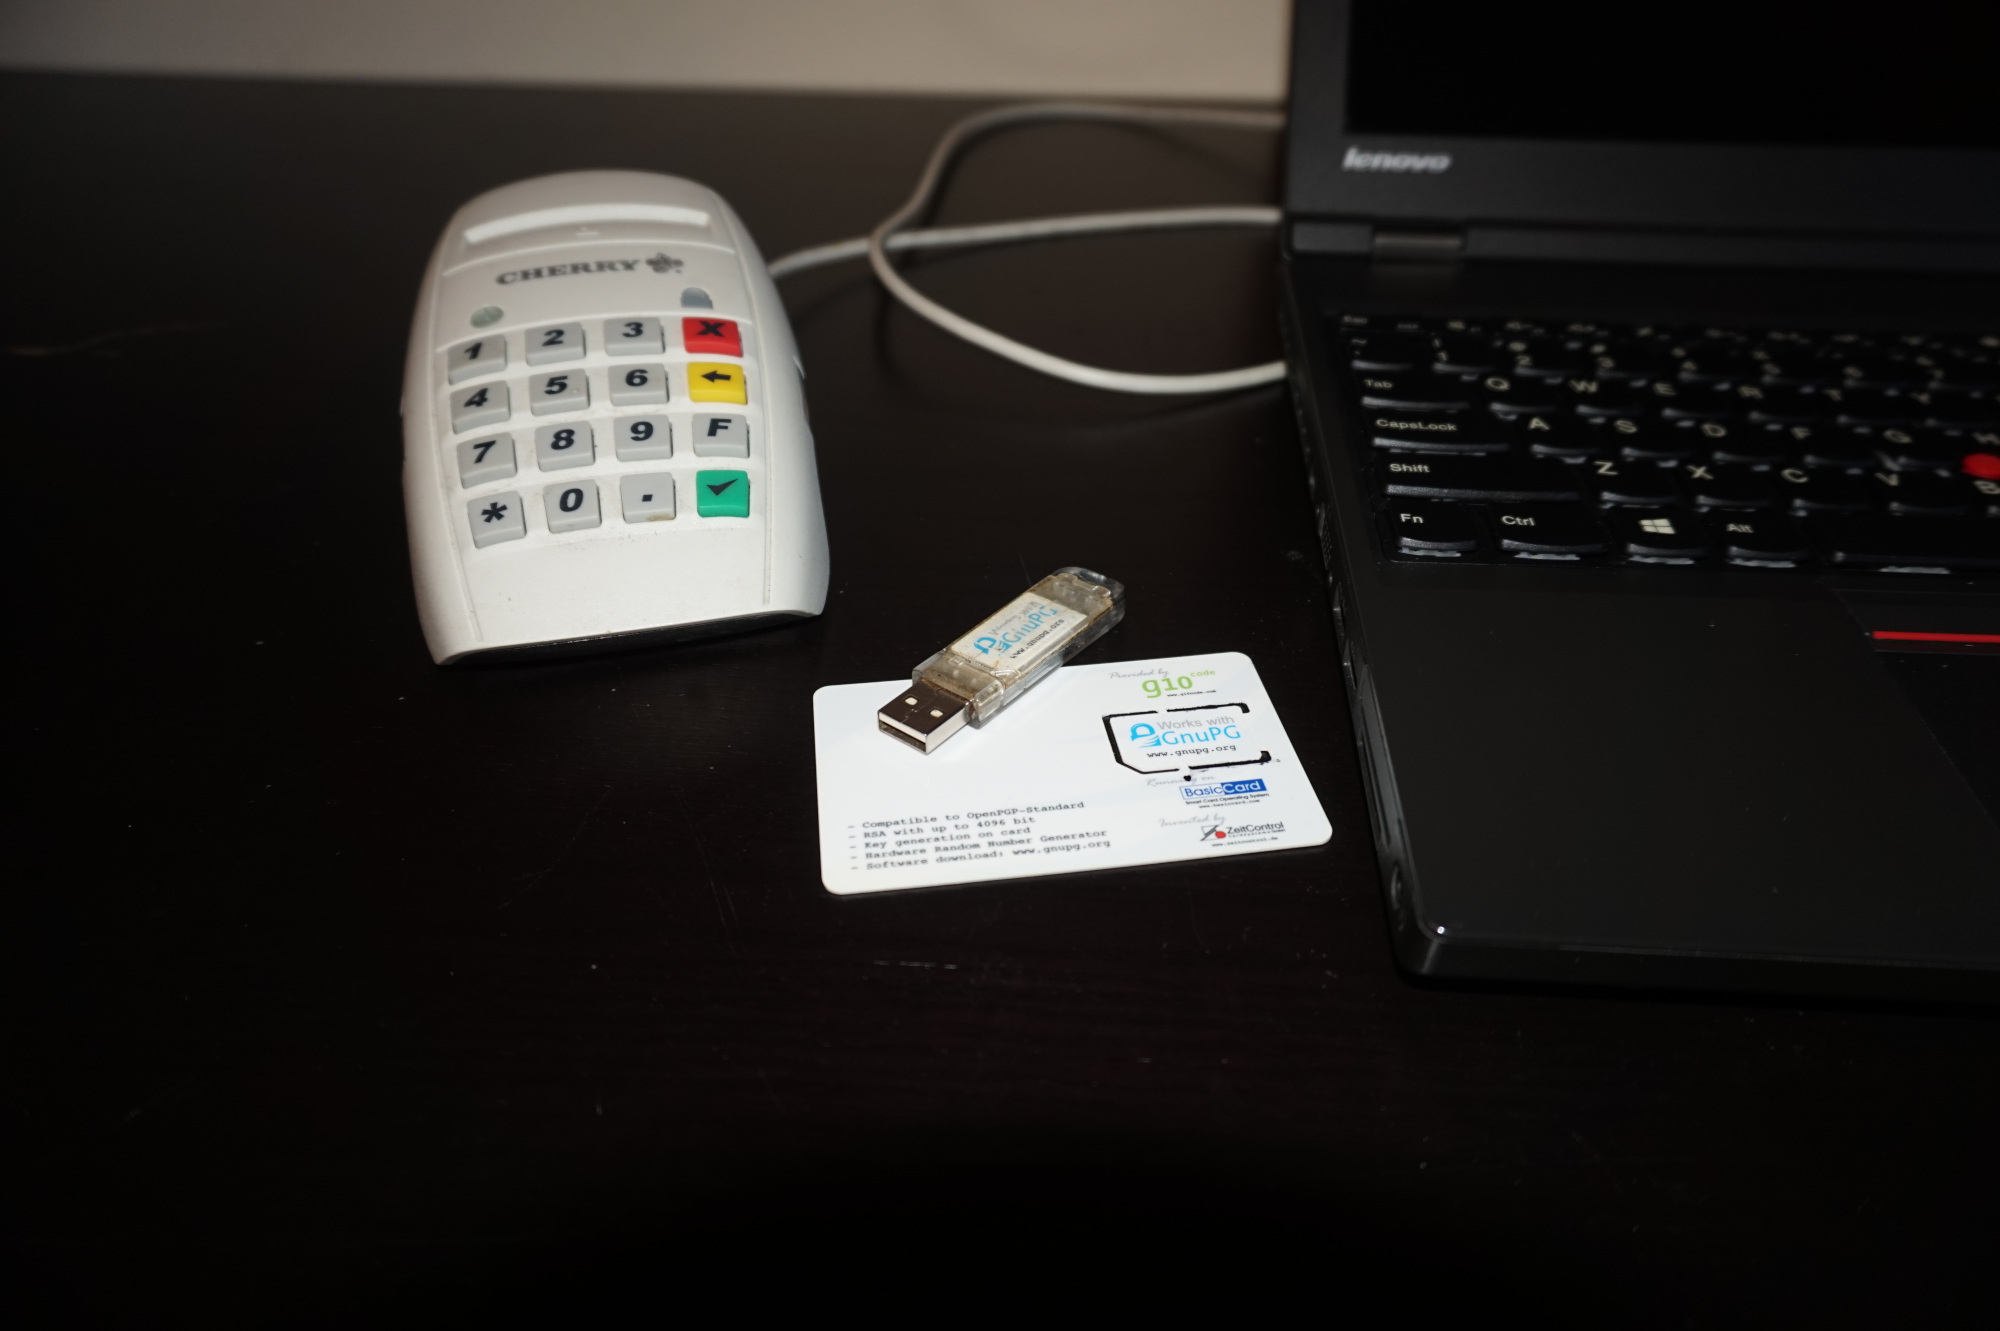
I use a Free Software Foundation Europe fellowship GPG smartcard for my email encryption and package signing. While FSFE doesn’t provide the smartcard anymore it’s still available at www.floss-shop.de.
I moved to a Thinkpad w541 with coreboot running Debian GNU/Linux and FreeBSD so I needed to set up my email encryption on Thunderbird again.
It took me more time to reconfigure it again - as usual - so I decided to take notes this time and create a blog post about it. As this might be useful for somebody else … or me in the future :-)
The setup is executed on Debian GNU/Linux 12 (bookworm) with the FSFE fellowship GPG smartcard, but the setup for other Linux distributes, FreeBSD or other smartcards is very similar.
But with the latest versions of FreeBSD ( not sure when it started to work, but it works on FreeBSD 14) you can run FreeBSD as a virtual machine on ARM64 with UEFI just like on x86 on GNU/Linux with KVM.
UEFI on KVM is in general provided by the open-source tianocore project.
I didn’t find much information on how to run OpenBSD with UEFI on x86 or ARM64.
So I decided to write a blog post about it, in the hope that this information might be useful to somebody else. First I tried to download the OpenBSD 7.4 ISO image and boot
it as a virtual machine on KVM (x86). But the iso image failed to boot on a virtual with UEFI enabled. It looks like the ISO image only supports a legacy BIOS.
ARM64 doesn’t support a “legacy BIOS”. The ARM64 download page for OpenBSD 7.4 doesn’t even have an ISO image, but there is an install-<version>.img
image available. So I tried to boot this image on one of my Raspberry Pi systems and this worked. I had more trouble getting NetBSD working as a virtual machine on the Raspberry Pi but this might be a topic for another blog post :-)
You’ll find my journey with my installation instructions below.


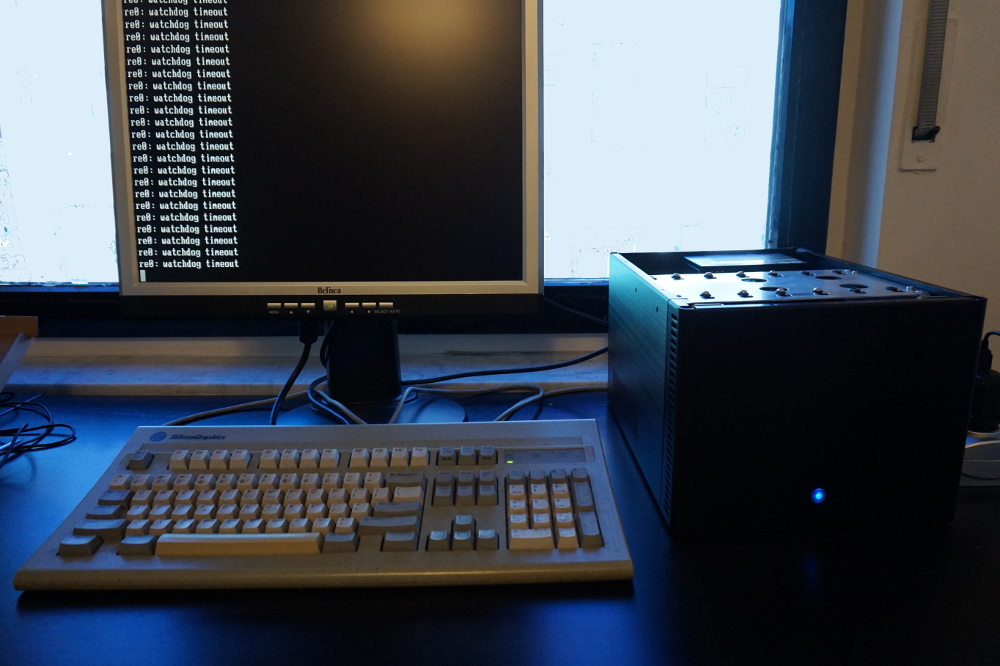 My NAS runs on FreeBSD I’m quiet happy with it. It’s named after the dog rataplan from the Lucky Luke comic


Leave a comment