


Use a GPG smartcard with Thunderbird. Part 1: setup GnuPG
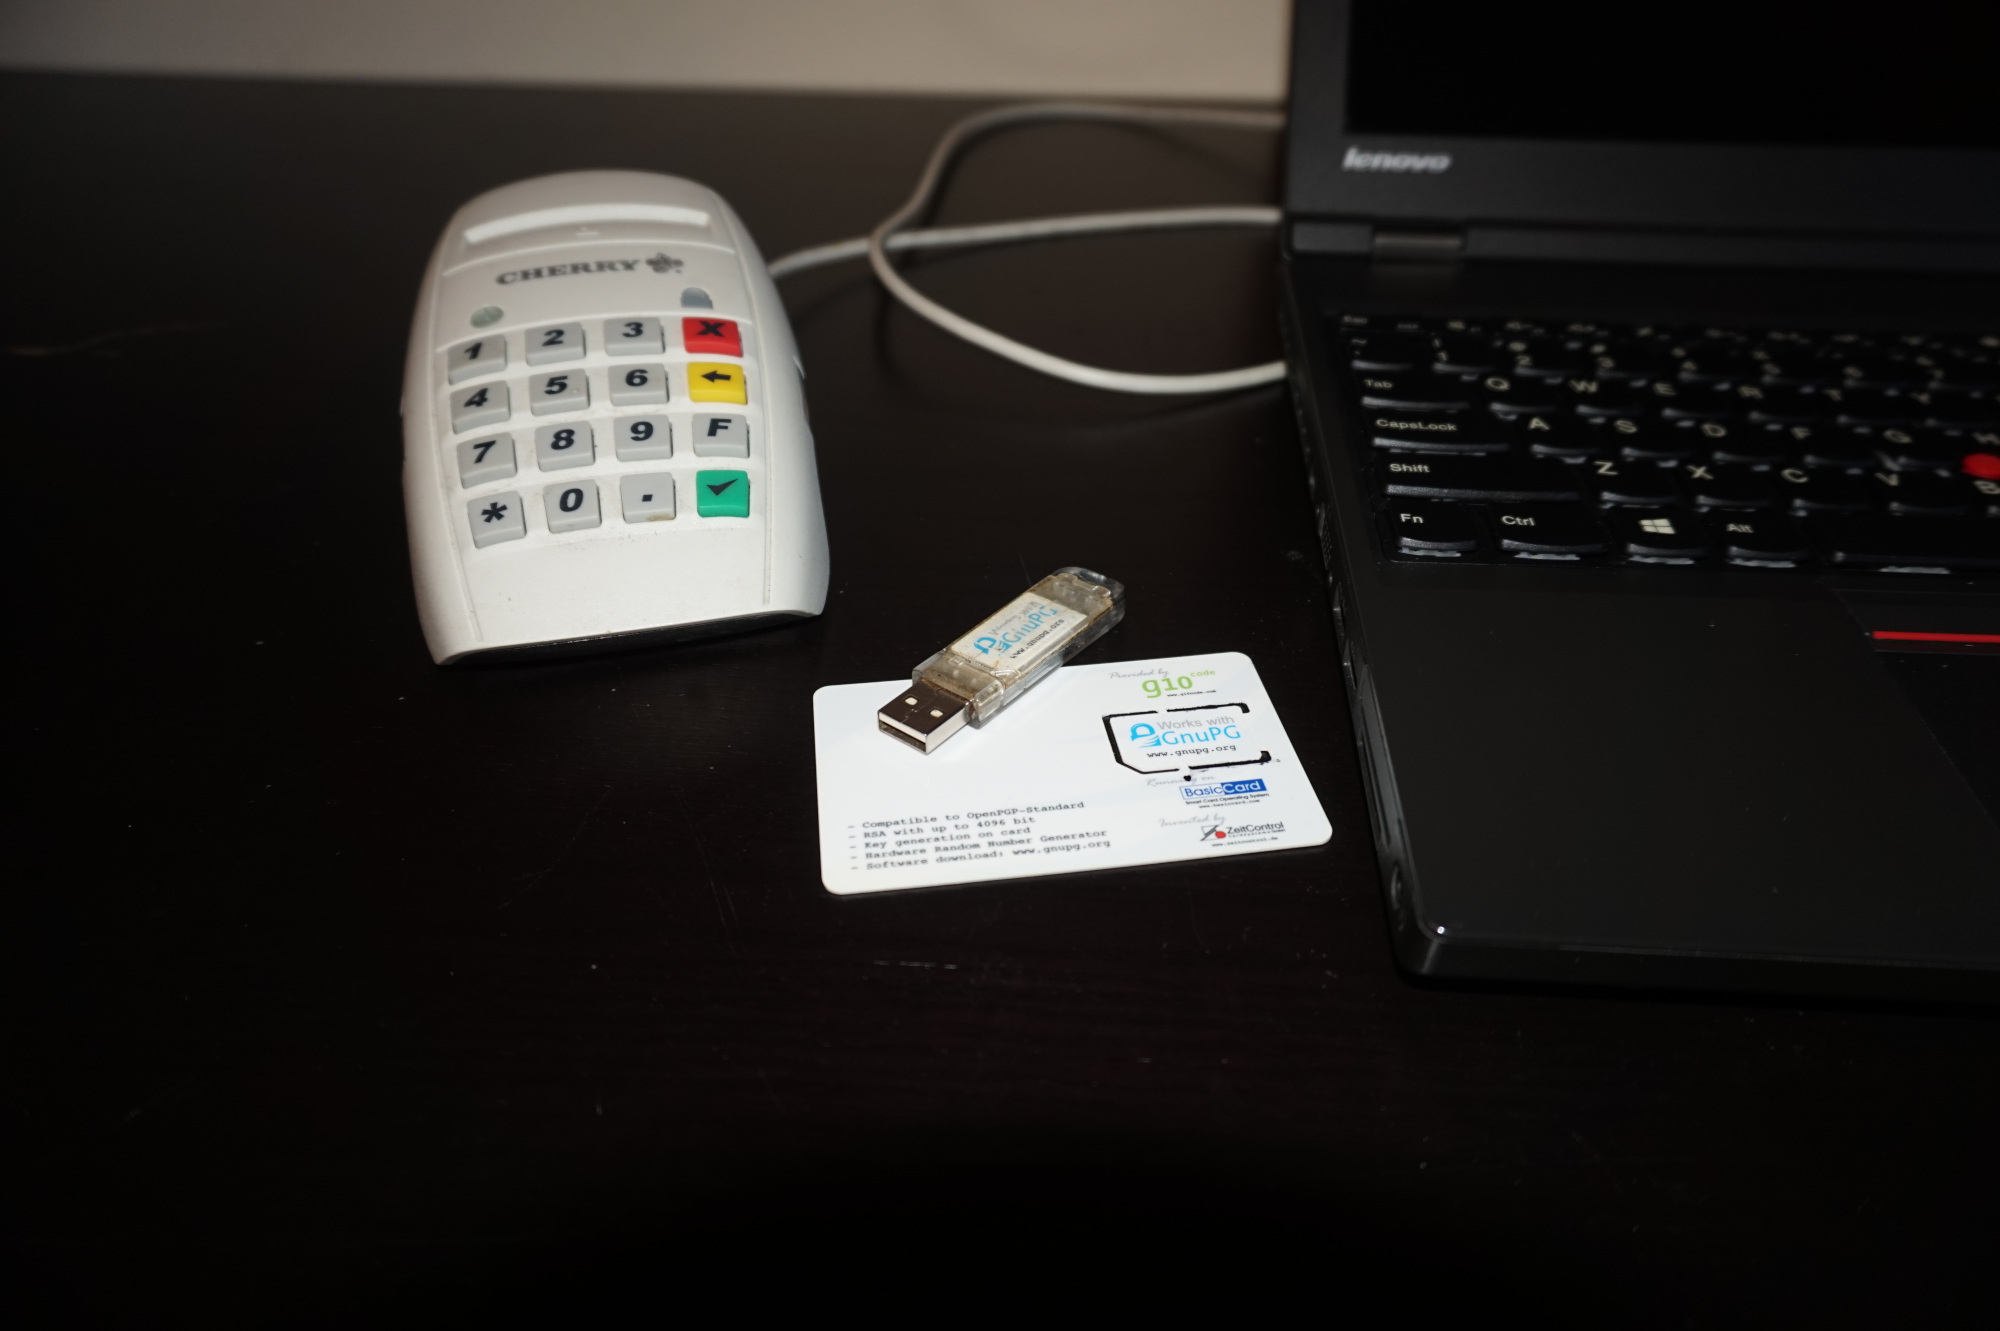
I use a Free Software Foundation Europe fellowship GPG smartcard for my email encryption and package signing. While FSFE doesn’t provide the smartcard anymore it’s still available at www.floss-shop.de.
I moved to a Thinkpad w541 with coreboot running Debian GNU/Linux and FreeBSD so I needed to set up my email encryption on Thunderbird again.
It took me more time to reconfigure it again - as usual - so I decided to take notes this time and create a blog post about it. As this might be useful for somebody else … or me in the future :-)
The setup is executed on Debian GNU/Linux 12 (bookworm) with the FSFE fellowship GPG smartcard, but the setup for other Linux distributes, FreeBSD or other smartcards is very similar.
umask
When you’re working on privacy-related tasks - like email encryption - it’s recommended to set the umask to a more private setting to only allow the user to read the generated files.
This is also recommended in most security benchmarks for “interactive users”.
umask 27 is a good default as it allows only users that are in the same group to read the generated files. Only the user that generated the file can modify it. This should be the default IMHO, but for historical reasons, umask 022 is the default on most Un!x or alike systems.
On most modern Un!x systems the default group for the user is the same as the user name. If you really want to be sure that only the user can read the generated files you can also use umask 077.
Set the umask to something more secure as the default. You probably want to configure it in your ~/.profile or ~/.bashrc ( if you’re using bash) or configure this on the system level for the UID range that is assigned to “interactive users”.
$ umask 27
Verify.
$ umask
0027
$
Install GnuPG
Smartcards are supported by GnuPG by scdaemon, it should be possible to use the native GnuPG CCID(Chip Card Interface) driver with more recent versions of GnuPG or the OpenSC PC/SC interface.
![]()
For the native GnuPG CCID interface you’ll need a supported smartcard reader. I continue to use the OpenSC PC/SC method, which implements the PKCS11 interface - the defacto standard interface for smartcards or HSMs - Hardware Security modules - and supports more smartcard readers.
The PKCS11 interface also allows you to reuse your PGP keypair for other things like SSH authentication through the PKCS11 interface ( SSH support is also possible with the gpg-agent ) or other applications like web browsers.
On Debian GNU/Linux, scdaemon is a separate package.
Make sure that the gpg and scdaemon are installed.
$ sudo apt install gpg scdaemon
GPG components
GnuPG has a few components, to list the components you can execute the gpgconf --list-components command.
$ gpgconf --list-component
gpg:OpenPGP:/usr/bin/gpg
gpgsm:S/MIME:/usr/bin/gpgsm
gpg-agent:Private Keys:/usr/bin/gpg-agent
scdaemon:Smartcards:/usr/lib/gnupg/scdaemon
dirmngr:Network:/usr/bin/dirmngr
pinentry:Passphrase Entry:/usr/bin/pinentry
If you want to know in more detail what the function is for a certain component you can check the manpages for each component.
We use in the:
- scdaemon: Smartcard daemon for the GnuPG system
- gpg-agent: Secret key management for GnuPG
components in this blog post as they are involved in OpenPGP encryption.
To reload the configuration of all components you execute the gpgconf --reload command. To reload you can execute gpgconf --reload <component>.
e.g.
$ gpgconf --reload scdaemon
Will reload the configuration of the scdaemon.
When you want or need to stop a gpg process you can use the gpgconf --kill <component> command.
e.g.
$ gpgconf --kill scdaemon
Will kill the scdaemon process.
(Try to) Find your smartcard device
Make sure that the reader is connected to your system.
$ lsusb
Bus 002 Device 001: ID 1d6b:0003 Linux Foundation 3.0 root hub
Bus 001 Device 003: ID 08e6:3438 Gemalto (was Gemplus) GemPC Key SmartCard Reader
Bus 001 Device 002: ID 0627:0001 Adomax Technology Co., Ltd QEMU Tablet
Bus 001 Device 001: ID 1d6b:0002 Linux Foundation 2.0 root hub
$
Without config
Let’s see if gpg can detect the smartcard.
Execute gpg --card-status.
$ gpg --card-status
gpg: selecting card failed: No such device
gpg: OpenPGP card not available: No such device
$
gpg doesn’t detect the smartcard…
When you execute the gpg command the gpg-agent is started.
$ ps aux | grep -i gpg
avahi        540  0.0  0.0   8288  3976 ?        Ss   Apr05   0:00 avahi-daemon: running [debian-gpg.local]
staf         869  0.0  0.0  81256  3648 ?        SLs  Apr05   0:00 /usr/bin/gpg-agent --supervised
staf        5143  0.0  0.0   6332  2076 pts/1    S+   12:48   0:00 grep -i gpg
$
The gpg-agent also starts the scdaemon process.
$ ps aux | grep -i scdaemon
staf        5150  0.0  0.1  90116  5932 ?        SLl  12:49   0:00 scdaemon --multi-server
staf        5158  0.0  0.0   6332  2056 pts/1    S+   12:49   0:00 grep -i scdaemon
$
When it’s the first time that you started gpg it’ll create a ~/.gnupg directory.
staf@debian-gpg:~/.gnupg$ ls
private-keys-v1.d  pubring.kbx
staf@debian-gpg:~/.gnupg$
Add debug info
scdaemon
To debug why GPG doesn’t detect the smartcard, we’ll enable debug logging in the scdeamon.
Create a directory for the logging.
$ mkdir ~/logs
$ chmod 700 ~/logs
Edit ~/gnugpg/scdaemon.conf to reconfigure the scdaemon to create logging.
staf@debian-gpg:~/.gnupg$ cat scdaemon.conf
verbose
debug-level expert
debug-all
log-file    /home/staf/logs/scdaemon.log
staf@debian-gpg:~/.gnupg$
Stop the sdaemon process.
staf@debian-gpg:~/logs$ gpgconf --reload scdaemon
staf@debian-gpg:~/logs$
Verify.
$ ps aux | grep -i scdaemon
staf        5169  0.0  0.0   6332  2224 pts/1    S+   12:51   0:00 grep -i scdaemon
$
The next time you execute a gpg command, the scdaemon is restarted.
$ gpg --card-status
gpg: selecting card failed: No such device
gpg: OpenPGP card not available: No such device
$
With the new config, the scdaemon creates a log file with debug info.
]$ ls -l ~/logs
total 8
-rw-r--r-- 1 staf staf 1425 Apr 15 19:45 scdaemon.log
$
gpg-agent
We’ll configure the gpg-agent to generate a debug log as this might help to debug if something goes wrong.
Open the gpg-agent.conf configuration file with your favourite editor.
staf@bunny:~/.gnupg$ vi gpg-agent.conf
And set the debug-level and the log output file.
debug-level expert
verbose
verbose
log-file /home/staf/logs/gpg-agent.log
Reload the gpg-agent configuration.
staf@bunny:~/.gnupg$ gpgconf --reload gpg-agent
staf@bunny:~/.gnupg$
Verify that a log-file is created.
staf@bunny:~/.gnupg$ ls ~/logs/
gpg-agent.log  scdaemon.log
staf@bunny:~/.gnupg$
The main components are configured to generate debug info now.
We’ll continue with the gpg configuration.
Setup opensc
We will use opensc to configure the smartcard interface.
![]()
Install apt-file
To find the required files/libraries, it can be handy to have apt-file on our system.
Install apt-file.
$ sudo apt install apt-file
Update the apt-file database.
$ sudo apt-file update
Search for the tools that will be required.
$ apt-file search pcsc_scan
pcsc-tools: /usr/bin/pcsc_scan
pcsc-tools: /usr/share/man/man1/pcsc_scan.1.gz
$
$ apt-file search pkcs15-tool
opensc: /usr/bin/pkcs15-tool
opensc: /usr/share/bash-completion/completions/pkcs15-tool
opensc: /usr/share/man/man1/pkcs15-tool.1.gz
$
Install smartcard packages
Install the required packages.
$ sudo apt install opensc pcsc-tools
Start the pcscd.service
On Debian GNU/Linux the services are normally automatically enabled/started when a package is installed.
But the pcscd service wasn’t enabled on my system.
Let’s enable it.
$ sudo systemctl enable pcscd.service
Synchronizing state of pcscd.service with SysV service script with /lib/systemd/systemd-sysv-install.
Executing: /lib/systemd/systemd-sysv-install enable pcscd
$
Start it.
$ sudo systemctl start pcscd.service
And verify that it’s running.
$ sudo systemctl status pcscd.service
● pcscd.service - PC/SC Smart Card Daemon
     Loaded: loaded (/lib/systemd/system/pcscd.service; indirect; preset: enabled)
     Active: active (running) since Tue 2024-04-16 07:47:50 CEST; 16min ago
TriggeredBy: ● pcscd.socket
       Docs: man:pcscd(8)
   Main PID: 8321 (pcscd)
      Tasks: 7 (limit: 19026)
     Memory: 1.5M
        CPU: 125ms
     CGroup: /system.slice/pcscd.service
             └─8321 /usr/sbin/pcscd --foreground --auto-exit

Apr 16 07:47:50 bunny systemd[1]: Started pcscd.service - PC/SC Smart Card Daemon.
Verify connection
Execute the pcsc_scan command and insert your smartcard.
$ pcsc_scan
PC/SC device scanner
V 1.6.2 (c) 2001-2022, Ludovic Rousseau <ludovic.rousseau@free.fr>
Using reader plug'n play mechanism
Scanning present readers...
0: Alcor Micro AU9540 00 00

Tue Apr 16 08:05:26 2024
 Reader 0: Alcor Micro AU9540 00 00
  Event number: 0
  Card state: Card removed,
 Scanning present readers...
0: Alcor Micro AU9540 00 00
1: Gemalto USB Shell Token V2 (284C3E93) 01 00

Tue Apr 16 08:05:50 2024
 Reader 0: Alcor Micro AU9540 00 00
  Event number: 0
  Card state: Card removed,
 Reader 1: Gemalto USB Shell Token V2 (284C3E93) 01 00
  Event number: 0
  Card state: Card inserted,
  ATR: <snip>

ATR: <snip>
+ TS = 3B --> Direct Convention
+ T0 = DA, Y(1): 1101, K: 10 (historical bytes)
<snip>
+ TCK = 0C (correct checksum)
<snip>

Possibly identified card (using /usr/share/pcsc/smartcard_list.txt):
<snip>
	OpenPGP Card V2
$
Execute pkcs15-tool -D to ensure that the pkcs11/pkcs15 interface is working.
$ pkcs15-tool -D
Using reader with a card: Gemalto USB Shell Token V2 (284C3E93) 00 00
PKCS#15 Card [OpenPGP card]:
	Version        : 0
	Serial number  : <snip>
	Manufacturer ID: ZeitControl
	Language       : nl
	Flags          : PRN generation, EID compliant


PIN [User PIN]
	Object Flags   : [0x03], private, modifiable
	Auth ID        : 03
	ID             : 02
	Flags          : [0x13], case-sensitive, local, initialized
	Length         : min_len:6, max_len:32, stored_len:32
	Pad char       : 0x00
	Reference      : 2 (0x02)
	Type           : UTF-8
	Path           : 3f00
	Tries left     : 3

PIN [User PIN (sig)]
	Object Flags   : [0x03], private, modifiable
	Auth ID        : 03
	ID             : 01
	Flags          : [0x13], case-sensitive, local, initialized
	Length         : min_len:6, max_len:32, stored_len:32
	Pad char       : 0x00
	Reference      : 1 (0x01)
	Type           : UTF-8
	Path           : 3f00
	Tries left     : 3

PIN [Admin PIN]
	Object Flags   : [0x03], private, modifiable
	ID             : 03
	Flags          : [0x9B], case-sensitive, local, unblock-disabled, initialized, soPin
	Length         : min_len:8, max_len:32, stored_len:32
	Pad char       : 0x00
	Reference      : 3 (0x03)
	Type           : UTF-8
	Path           : 3f00
	Tries left     : 3

Private RSA Key [Signature key]
	Object Flags   : [0x03], private, modifiable
	Usage          : [0x20C], sign, signRecover, nonRepudiation
	Access Flags   : [0x1D], sensitive, alwaysSensitive, neverExtract, local
	Algo_refs      : 0
	ModLength      : 3072
	Key ref        : 0 (0x00)
	Native         : yes
	Auth ID        : 01
	ID             : 01
	MD:guid        : <snip>

Private RSA Key [Encryption key]
	Object Flags   : [0x03], private, modifiable
	Usage          : [0x22], decrypt, unwrap
	Access Flags   : [0x1D], sensitive, alwaysSensitive, neverExtract, local
	Algo_refs      : 0
	ModLength      : 3072
	Key ref        : 1 (0x01)
	Native         : yes
	Auth ID        : 02
	ID             : 02
	MD:guid        : <snip>

Private RSA Key [Authentication key]
	Object Flags   : [0x03], private, modifiable
	Usage          : [0x222], decrypt, unwrap, nonRepudiation
	Access Flags   : [0x1D], sensitive, alwaysSensitive, neverExtract, local
	Algo_refs      : 0
	ModLength      : 3072
	Key ref        : 2 (0x02)
	Native         : yes
	Auth ID        : 02
	ID             : 03
	MD:guid        : <snip>

Public RSA Key [Signature key]
	Object Flags   : [0x02], modifiable
	Usage          : [0xC0], verify, verifyRecover
	Access Flags   : [0x02], extract
	ModLength      : <snip>
	Key ref        : 0 (0x00)
	Native         : no
	Path           : b601
	ID             : 01

Public RSA Key [Encryption key]
	Object Flags   : [0x02], modifiable
	Usage          : [0x11], encrypt, wrap
	Access Flags   : [0x02], extract
	ModLength      : <snip>
	Key ref        : 0 (0x00)
	Native         : no
	Path           : b801
	ID             : 02

Public RSA Key [Authentication key]
	Object Flags   : [0x02], modifiable
	Usage          : [0x51], encrypt, wrap, verify
	Access Flags   : [0x02], extract
	ModLength      : <snip>
	Key ref        : 0 (0x00)
	Native         : no
	Path           : a401
	ID             : 03

$
You might want to reinsert your smartcard after you execute pkcs15-tool or pkcs11-tool commands, as still this might lock
the smartcard that generates a sharing violation (0x8010000b) error (see below).
GnuPG configuration
scdaemon
The first step is to get the smartcard detected by gpg (scdaemon).
Test
Execute gpg --card-status to verify that your smartcard is detected by gpg.
This might work as gpg will try to use the internal CCID if this fails it will try
to use the opensc interface.
$ gpg --card-status
gpg: selecting card failed: No such device
gpg: OpenPGP card not available: No such device
$
When the smartcard doesn’t get detected, have a look at the ~/logs/scdaemon.log log file.
Disable the internal ccid
When you use a smartcard reader that isn’t supported by GnuPG or you want to force GnuPG to use the opensc interface it’s a good idea to disable the internal ccid.
Edit scdaemon.conf.
staf@bunny:~/.gnupg$ vi scdaemon.conf
staf@bunny:~/.gnupg$
and add disable-ccid.
card-timeout 5
disable-ccid

verbose
debug-level expert
debug-all
log-file    /home/staf/logs/scdaemon.log
Reload the scdaemon.
staf@bunny:~/.gnupg$ gpgconf --reload scdaemon
staf@bunny:~/.gnupg$
gpg will try to use the opensc as a failback by default, so disabling the internal CCI interface will probably not fix the issue when your smartcard isn’t detected.
multiple smartcard readers
When you have multiple smartcard readers on your system. e.g. an internal and other one connected over USB. gpg might only use the first smartcard reader.
Check the scdaemon.log to get the reader port for your smartcard reader.
staf@bunny:~/logs$ tail -f scdaemon.log
2024-04-14 11:39:35 scdaemon[471388] DBG: chan_7 -> D 2.2.40
2024-04-14 11:39:35 scdaemon[471388] DBG: chan_7 -> OK
2024-04-14 11:39:35 scdaemon[471388] DBG: chan_7 <- SERIALNO
2024-04-14 11:39:35 scdaemon[471388] detected reader 'Alcor Micro AU9540 00 00'
2024-04-14 11:39:35 scdaemon[471388] detected reader 'Gemalto USB Shell Token V2 (284C3E93) 01 00'
2024-04-14 11:39:35 scdaemon[471388] reader slot 0: not connected
2024-04-14 11:39:35 scdaemon[471388] reader slot 0: not connected
2024-04-14 11:39:35 scdaemon[471388] DBG: chan_7 -> ERR 100696144 No such device <SCD>
2024-04-14 11:39:35 scdaemon[471388] DBG: chan_7 <- RESTART
2024-04-14 11:39:35 scdaemon[471388] DBG: chan_7 -> OK
To force gpg to use a smartcard reader you can set the reader-port directive in the scdaemon.conf
configuration file.
staf@bunny:~/.gnupg$ vi scdaemon.conf
card-timeout 5
disable-ccid

reader-port 'Gemalto USB Shell Token V2 (284C3E93) 01 00'

verbose
debug-level expert
debug-all
log-file    /home/staf/logs/scdaemon.log
staf@bunny:~$ gpgconf --reload scdaemon
staf@bunny:~$
sharing violation (0x8010000b)
Applications will try to lock your opensc smartcard, if your smartcard is already in use by another application you might get a sharing violation (0x8010000b).
This is fixed by reinserting your smartcard. If this doesn’t help it might be a good idea to
restart the pcscd service as this disconnects all the applications that might lock
the opensc interface.
$ sudo systemctl restart pcscd
When everything goes well your smartcard should be detected now. If not, take a look at the scdaemon.log .
staf@bunny:~$ gpg --card-status
Reader ...........: Gemalto USB Shell Token V2 (284C3E93) 00 00
Application ID ...: <snip>
Application type .: OpenPGP
Version ..........: 2.1
Manufacturer .....: ZeitControl
Serial number ....: 000046F1
Name of cardholder: <snip>
Language prefs ...: <snip>
Salutation .......: <snip>
URL of public key : <snip>
Login data .......: [not set]
Signature PIN ....: <snip>
Key attributes ...: <snip>
Max. PIN lengths .: <snip>
PIN retry counter : <snip>
Signature counter : <snip>
Signature key ....: <snip>
      created ....: <snip>
Encryption key....: <snip>
      created ....: <snip>
Authentication key: <snip>
      created ....: <snip>
General key info..: [none]
staf@bunny:~$
Note that gpg will lock the smartcard, if you try to use your smartcard for another application you’ll get
a “Reader in use by another application” error.
staf@bunny:~$ pkcs15-tool -D
Using reader with a card: Gemalto USB Shell Token V2 (284C3E93) 00 00
Failed to connect to card: Reader in use by another application
staf@bunny:~$
Private key references
When you execute gpg --card-status successfully. gpg creates references (shadowed-private-keys) to the private key(s) on your smartcard.
These references are text files created in ~/.gnupg/private-keys-v1.d.
staf@bunny:~/.gnupg/private-keys-v1.d$ ls
<snip>.key
<snip>.key
<snip>.key
staf@bunny:~/.gnupg/private-keys-v1.d$
These references also include the smartcard serial number, this way gpg knows on which hardware token the private key is located and will
ask you to insert the correct hardware token (smartcard).
Pinentry
pinentry allows you to type in a passphrase (pin code) to unlock the encryption if you don’t have a smartcard reader with a PIN-pad.
Lets’s look for the packages that provides a pinentry binary.
$ sudo apt-file search "bin/pinentry"
kwalletcli: /usr/bin/pinentry-kwallet
pinentry-curses: /usr/bin/pinentry-curses
pinentry-fltk: /usr/bin/pinentry-fltk
pinentry-gnome3: /usr/bin/pinentry-gnome3
pinentry-gtk2: /usr/bin/pinentry-gtk-2
pinentry-qt: /usr/bin/pinentry-qt
pinentry-tty: /usr/bin/pinentry-tty
pinentry-x2go: /usr/bin/pinentry-x2go
$
Install the packages.
$ sudo apt install pinentry-curses pinentry-gtk2 pinentry-gnome3 pinentry-qt
/bin/pinetry is a soft link to the pinentry binary.
$ which pinentry
/usr/bin/pinentry
staf@debian-gpg:/tmp$ ls -l /usr/bin/pinentry
lrwxrwxrwx 1 root root 26 Oct 18  2022 /usr/bin/pinentry -> /etc/alternatives/pinentry
staf@debian-gpg:/tmp$ ls -l /etc/alternatives/pinentry
lrwxrwxrwx 1 root root 24 Mar 23 11:29 /etc/alternatives/pinentry -> /usr/bin/pinentry-gnome3
$
If you want to use another pinentry provider you can update it with update-alternatives --config pinentry.
sudo update-alternatives --config pinentry
Import public key
The last step is to import our public key.
$ gpg --import <snip>.asc
gpg: key <snip>: "Fname Sname <email>" not changed
gpg: Total number processed: 1
gpg:              unchanged: 1
$
Test
Check if our public and private keys are known by GnuPG.
List public keys.
$ gpg --list-keys
/home/staf/.gnupg/pubring.kbx
-----------------------------
pub   rsa<snip> <snip> [SC]
    XXXXXXXXXXXXXXXXXXXXXXXXXXXXXXXXXXXXXXXX
uid           [ unknown] fname sname <email>
sub   rsa<snip> <snip> [A]
sub   rsa<snip> <snip> [E]

$
List our private keys.
$ gpg --list-secret-keys
/home/staf/.gnupg/pubring.kbx
-----------------------------
sec>  rsa<size> <date> [SC]
      XXXXXXXXXXXXXXXXXXXXXXXXXXXXXXXXXXXXXXXX
      Card serial no. = XXXX YYYYYYYY
uid           [ unknown] Fname Sname <email>
ssb>  rsa<size> <date> [A]
ssb>  rsa<size> <date> [E]

$
Test if we sign something with our GnuPG smartcard.
Create a test file.
$ echo "I'm boe." > /tmp/boe
$
Sign it.
$ gpg --sign /tmp/boe
$
Type your PIN code.
                ┌──────────────────────────────────────────────┐
                │ Please unlock the card                       │
                │                                              │
                │ Number: XXXX YYYYYYYY                        │
                │ Holder: first list                           │
                │ Counter: <number>                            │
                │                                              │
                │ PIN ________________________________________ │
                │                                              │
                │      <OK>                        <Cancel>    │
                └──────────────────────────────────────────────┘
In a next blog post will set up Thunderbird to use the smartcard for OpenPGP email encryption.
Have fun!
Links
- https://wiki.debian.org/Smartcards/OpenPGP
- https://www.floss-shop.de/en/security-privacy/smartcards/13/openpgp-smart-card-v3.4?c=11
- https://www.gnupg.org/howtos/card-howto/en/smartcard-howto-single.html
- https://support.nitrokey.com/t/nk3-mini-gpg-selecting-card-failed-no-such-device-gpg-card-setup/5057/7
- https://security.stackexchange.com/questions/233916/gnupg-connecting-to-specific-card-reader-when-multiple-reader-available#233918
- https://www.fsij.org/doc-gnuk/stop-scdaemon.html
- https://wiki.debian.org/Smartcards
- https://github.com/OpenSC/OpenSC/wiki/Overview/c70c57c1811f54fe3b3989d01708b45b86fafe11
- https://superuser.com/questions/1693289/gpg-warning-not-using-as-default-key-no-secret-key
- https://stackoverflow.com/questions/46689885/how-to-get-public-key-from-an-openpgp-smart-card-without-using-key-servers


Leave a comment