


Use a raspberry-pi 2 as a firewall with FreeBSD
Updated @ Mon Nov 16 08:16:30 PM CET 2020: Corrected the version when OPNsense dropped 32 bits support.
I was using OPNsense on my pcengines alix firewall and was quite happy with it.
The alix 2d13 is a nice motherboard with a Geode CPU, it has a 32 bits x86 instruction set. I migrated to OPNsense from pfSense when pfSense dropped 32 bits support.
Unfortunately, OPNsense also dropped support for 32 bits CPU’s in the 19.1.7 release 20.7 release. I decided to install FreeBSD on the alix to use it as my firewall. But I need a temporary firewall solution so I can install FreeBSD on my alix board. I have a Raspberry PI 2 that I wasn’t using.
You’ll find my journey to use my RPI2 as my firewall below.

Install FreeBSD
ARM is a Tier 2 architecture on FreeBSD. Tier 2 architectures are less mature and aren’t supported as well. FreeBSD-update isn’t supported on a Tier 2 architecture for example.
Pkgbase can be an alternative to update FreeBSD on ARM. But I didn’t try this (yet).
Download FreeBSD
Links to latest downloads are available at: https://wiki.freebsd.org/arm/Raspberry%20Pi. Download the latest image and verify the checksum.
[staf@snuffel ~/Downloads]$ sha256 FreeBSD-12.2-PRERELEASE-arm-armv7-RPI2-20200910-r365545.img.xz
SHA256 (FreeBSD-12.2-PRERELEASE-arm-armv7-RPI2-20200910-r365545.img.xz) = e2987f1ae57db48719d484af293fbcc80e944c2dd30c7d3edfae4ac62d8dc3e3
[staf@snuffel ~/Downloads]$ grep e2987f1ae57db48719d484af293fbcc80e944c2dd30c7d3edfae4ac62d8dc3e3 CHECKSUM.SHA256-FreeBSD-12.2-PRERELEASE-arm-armv7-RPI2-20200910-r365545
SHA256 (FreeBSD-12.2-PRERELEASE-arm-armv7-RPI2-20200910-r365545.img.xz) = e2987f1ae57db48719d484af293fbcc80e944c2dd30c7d3edfae4ac62d8dc3e3
Write the image to your sdcard
After downloading the image, you need to write the image to a sdcard. I execute the steps below on a FreeBSD system.
Find your sdcard
The easiest way to find your sdcard is the geom utility. Execute geom disk list to find the device name
of your sd card.
root@snuffel:~ # geom disk list
Geom name: cd0
Providers:
1. Name: cd0
   Mediasize: 0 (0B)
   Sectorsize: 2048
   Mode: r0w0e0
   descr: MATSHITA DVD-RAM UJ862A
   ident: (null)
   rotationrate: unknown
   fwsectors: 0
   fwheads: 0

<snip>

Geom name: da0
Providers:
1. Name: da0
   Mediasize: 7948206080 (7.4G)
   Sectorsize: 512
   Mode: r0w0e0
   descr: Generic STORAGE DEVICE
   lunname: Generic STORAGE DEVICE-4
   lunid: Generic STORAGE DEVICE-4
   ident: 000000000903
   rotationrate: unknown
   fwsectors: 63
   fwheads: 255

root@snuffel:/home/staf/Downloads #
Write the image to your sdcard
root@snuffel:/home/staf/Downloads # xzcat FreeBSD-12.2-PRERELEASE-arm-armv7-RPI2-20200910-r365545.img.xz | dd of=/dev/da0 status=progress bs=1M
  3220176896 bytes (3220 MB, 3071 MiB) transferred 694.026s, 4640 kB/s
0+370017 records in
3072+0 records out
3221225472 bytes transferred in 694.681604 secs (4636981 bytes/sec)
root@snuffel:/home/staf/Downloads # sync
root@snuffel:/home/staf/Downloads #
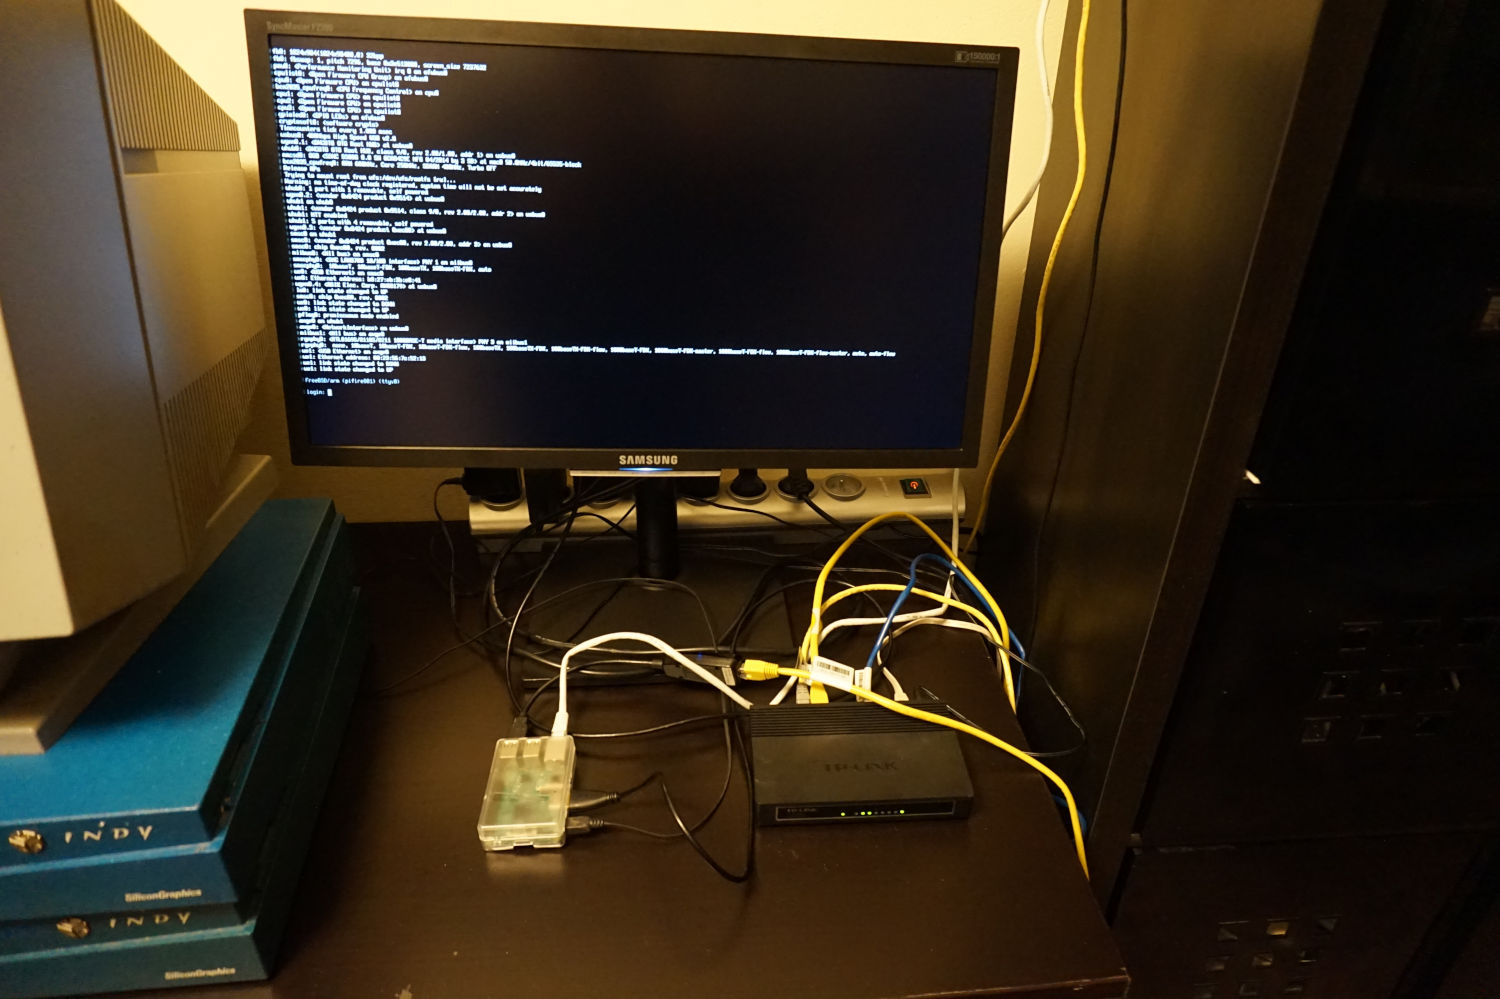
Boot your raspberry-pi
Boot your raspberry-pi.
Update password
The default password for the root account is root. Always a good idea to change the default password.
Changing local password for root
New Password:
Retype New Password:
root@generic:~ #
Remove the freebsd user
There is default user freebsd, I’ll set my own user. Use rmuser to remove it.
root@pifire001:~ # rmuser freebsd
Matching password entry:

freebsd:******:1001::0:0:FreeBSD User:/home/freebsd:/bin/csh

Is this the entry you wish to remove? y
Remove user's home directory (/home/freebsd)? y
Removing user (freebsd): mailspool home passwd.
root@pifire001:~ #
Create user
Create a user to administer your firewall. Make sure that you add the user to the wheel group.
Only users that are in the wheel group are able to use su on FreeBSD.
root@generic:~ # adduser
Username: staf
Full name:
Uid (Leave empty for default):
Login group [staf]:
Login group is staf. Invite staf into other groups? []: wheel
Login class [default]:
Shell (sh csh tcsh nologin) [sh]:
Home directory [/home/staf]:
Home directory permissions (Leave empty for default):
Use password-based authentication? [yes]:
Use an empty password? (yes/no) [no]:
Use a random password? (yes/no) [no]:
Enter password:
Enter password again:
Lock out the account after creation? [no]: no
Username   : staf
Password   : *****
Full Name  :
Uid        : 1002
Class      :
Groups     : staf wheel
Home       : /home/staf
Home Mode  :
Shell      : /bin/sh
Locked     : no
OK? (yes/no): yes
adduser: INFO: Successfully added (staf) to the user database.
Add another user? (yes/no): no
Goodbye!
root@generic:~ #
Set your hostname
On FreeBSD system settings are configure in /etc/rc.conf. sysrc is a handy utility to manage it.
Use sysrc hostname=your_hostname to change it.
root@generic:~ # sysrc hostname=pifire001
hostname: generic -> pifire001
root@generic:~ #
To make hostname active without a reboot use hostname your_hostname.
root@generic:~ # hostname pifire001
Install packages
Install the packages that are required to manage your system. I use ansible to manage my systems; sudo and python are required for ansible.
Install pkg
root@generic:~ # pkg
The package management tool is not yet installed on your system.
Do you want to fetch and install it now? [y/N]: y
Bootstrapping pkg from pkg+http://pkg.FreeBSD.org/FreeBSD:12:armv7/quarterly, please wait...
Verifying signature with trusted certificate pkg.freebsd.org.2013102301... done
Installing pkg-1.15.10...
Extracting pkg-1.15.10: 100%
pkg: not enough arguments
Usage: pkg [-v] [-d] [-l] [-N] [-j <jail name or id>|-c <chroot path>|-r <rootdir>] [-C <configuration file>] [-R <repo config dir>] [-o var=value] [-4|-6] <command> [<args>]

For more information on available commands and options see 'pkg help'.
root@generic:~ #
Install packages
root@generic:~ # pkg install -y python3 sudo
sudo
The ansible user will become a member of the wheel group on my network. Use visudo to grant execute permissions to execute commands as root.
root@generic:~ # visudo
I still use passwords for sudo even for the ansible user.
## Uncomment to allow members of group wheel to execute any command
%wheel ALL=(ALL) ALL
Configure the network
Network interfaces
I use two network interface on my firewall. I use the a usb network adapter for the second interface. Please note the internal network interface on the
The network interfaces are - like all system settings configured in /etc/rc.conf on FreeBSD.
User sysrc to configure them.
raspberry-pi is also connected over USB.
ue0is connected to my internet router. I use a fixed IP address.ue1is my internal interface.
root@pifire001:~ # sysrc ifconfig_ue0="inet 192.168.xxx.xxx netmask 255.255.255.0"
ifconfig_ue0: inet 192.168.xxx.xxx netmask 255.255.255.0 -> inet 192.168.xxx.xxx netmask 255.255.255.0
root@pifire001:~ # sysrc ifconfig_ue1="inet 192.168.yyy.yyy netmask 255.255.255.0"
ifconfig_ue1: inet 192.168.yyy.1 netmask 255.255.255.0 -> inet 192.168.yyy.1 netmask 255.255.255.0
There is ifconfig_DEFAULT variable set in the /etc/rc.conf. Remove it with sysrc.
root@pifire001:~ # sysrc ifconfig_DEFAULT=""
Set the default route
Set the default route to your internet connection.
defaultrouter: NO -> 192.168.yyy.1
root@pifire001:/etc #
restart the network services
Restart netif service to make the network connection active.
root@pifire001:~ # /etc/rc.d/netif restart
Restart the routing to get the default route configured.
root@pifire001:~ # /etc/rc.d/routing restart
delete host 127.0.0.1: gateway lo0
route: route has not been found
delete net default: gateway 192.168.xxx.xxx fib 0: not in table
delete host ::1: gateway lo0
delete net fe80::: gateway ::1
delete net ff02::: gateway ::1
delete net ::ffff:0.0.0.0: gateway ::1
delete net ::0.0.0.0: gateway ::1
add host 127.0.0.1: gateway lo0
add net default: gateway 192.168.xxx.xxx
add host ::1: gateway lo0
add net fe80::: gateway ::1
add net ff02::: gateway ::1
add net ::ffff:0.0.0.0: gateway ::1
add net ::0.0.0.0: gateway ::1
root@pifire001:~ #
Enable routing
FreeBSD doesn’t route the network by default, the net.inet.ip.forwarding system variable needs to be set.
This can be enabled with the gateway_enable variable in /etc/rc.conf, execute sysrc gateway_enable="YES"` to set it.
root@pifire001:~ # sysrc gateway_enable="YES"
gateway_enable: NO -> YES
To enable routing set the net.inet.ip.forwarding variable to 1 with sysctl.
root@pifire001:~ # sysctl net.inet.ip.forwarding
net.inet.ip.forwarding: 0
root@pifire001:~ # sysctl net.inet.ip.forwarding=1
net.inet.ip.forwarding: 0 -> 1
root@pifire001:~ # sysctl net.inet.ip.forwarding
net.inet.ip.forwarding: 1
root@pifire001:~ #
pf
I use pf as my firewall.
Enable pf & logging
To enable pf when the system starts up we need to pf_enable=yes and pflog_enable=yes in /etc/rc.conf.
pflog is the logging daemon for the pf firewall.
root@pifire001:~ # sysrc pf_enable=yes
pf_enable: NO -> yes
root@pifire001:~ #  sysrc pflog_enable=yes
pflog_enable: NO -> yes
root@pifire001:~ #
And start the pflog daemon.
root@pifire001:~ # /etc/rc.d/pflog start
Starting pflog.
firewall rules
Create /etc/pf.conf with your firewall rules.
You’ll find the firewall rule I use below.
Some remark on my firewall rules:
- It’s possible to set a network variable automatically with
localnet=$int_if:networkbut if the interface isn’t configured whenpfis started during the setup startup. The firewall rules will not be loaded.
# set external / internal interface
ext_if="ue0"
int_if="ue1"

# set network ranges
# localnet=$int_if:network
localnet="{ 192.168.xxx.0/24 }"
private_addresses="{10.0.0.0/8, 172.16.0.0/12, 192.168.0.0/16}"
mgmt_systems="{192.168.xxx.10/32}"
firewall_internal_ips="{ 192.168.xxx.xxx/32}"
firewall_external_ips="{ 192.168.yyy.4}"
none_routeable="{127.0.0.0/8, 192.168.0.0/16, 172.16.0.0/12, \
	      10.0.0.0/8, 169.254.0.0/16, 192.0.2.0/24, \
	      0.0.0.0/8, 240.0.0.0/4 }"

firewall_tcp_services = "{ }"
firewall_udp_services = "{ 53, 67, 68 }"

# default block policy, allow lo traffic
set block-policy drop
set skip on lo

# Nat rules need to be defined first
nat on $ext_if from $localnet to any -> ($ext_if)

# block everything by default
block in log all
block out log all

# dont block the mgmt systems ( - for now -)
pass in quick from $mgmt_systems to any
pass out quick from $mgmt_systems to any
pass in quick from $firewall_internal_ips to any
pass out quick from $firewall_internal_ips to any
pass out quick from $firewall_external_ips to any

# allow firewall services
block in quick on $ext_if
block in log quick to $firewall_external_ips
pass in quick on $int_if proto udp to $firewall_internal_ips port $firewall_udp_services
pass in quick on $int_if inet proto icmp icmp-type echoreq
block in log quick to $firewall_internal_ips

# block all access to private_addreses
block in quick log from any to $private_addresses
block out quick log from any to $private_addresses

# block all non-routeable traffic on the external interface
block in log quick on $ext_if from $none_routeable to any
block out log quick on $ext_if from any to $none_routeable

# allow outgoing (all allowed - for now - )
pass out quick all keep state

pass in quick on $int_if inet all keep state

# allow localnet traffic
pass from { lo0, $localnet } to any keep state

# allow ping
pass inet proto icmp icmp-type echoreq
Start the pf service
To active the firewall you need to start the pf service.
root@pifire001:~ # /etc/rc.d/pf start
Verify
To display the firewall rules:
pfctl -s ruleswill display the firewall rulespfctl -s natwill display the nat rules.- ```pfctl -s states will display the current stateful table.
Firewall rules with logging enabled can be analyzed by monitoring the pflog0 interface with tcpdump.
root@pifire001:~/scripts # tcpdump -n -e -ttt -i pflog0
DNS
I’ll use unbound as my dns server, unbound is a nice dns server/resolver and support dns over tls by default.
install unbound
root@pifire001:/etc # pkg install -y unbound ca_root_nss
Enable sysrc
root@pifire001:/etc # sysrc unbound_enable="YES"
first start
root@pifire001:/etc # /usr/local/etc/rc.d/unbound start
config
# cd /usr/local/etc/unbound/
#
You’ll need set the interface where unbound will run on.
# vi unbound.conf
        # interface: 2001:DB8::5

        interface: 0.0.0.0
Allow your localnetwork to query the dns server.
        # access-control: ::ffff:127.0.0.1 allow

        access-control: 192.168.xxx.0/24 allow
Enable dns-over-tls, I’ll use quad9 as my dns provider with dns-over-tls.
#       forward-host: fwd.example.com

forward-zone:
  name: "."
  forward-ssl-upstream: yes
  forward-addr: 9.9.9.9@853
Restart ubound to active the settings.
# /usr/local/etc/rc.d/unbound restart
Stopping unbound.
Waiting for PIDS: 61238.
Obtaining a trust anchor...
Starting unbound.
dhcpd
install isc-dhcpd
root@pifire001:~ # pkg install -y isc-dhcp44-server
Updating FreeBSD repository catalogue...
FreeBSD repository is up to date.
All repositories are up to date.
The following 1 package(s) will be affected (of 0 checked):

New packages to be INSTALLED:
	isc-dhcp44-server: 4.4.2_1

Number of packages to be installed: 1

The process will require 6 MiB more space.
1 MiB to be downloaded.
[1/1] Fetching isc-dhcp44-server-4.4.2_1.txz:  24%  312 KiB 319.5kB/s    00:03 E[1/1] Fetching isc-dhcp44-server-4.4.2_1.txz:  87%    1 MiB 835.6kB/s    00:00 E[1/1] Fetching isc-dhcp44-server-4.4.2_1.txz: 100%    1 MiB 659.6kB/s    00:02
Checking integrity... done (0 conflicting)
[1/1] Installing isc-dhcp44-server-4.4.2_1...
===> Creating groups.
Creating group 'dhcpd' with gid '136'.
===> Creating users
Creating user 'dhcpd' with uid '136'.
[1/1] Extracting isc-dhcp44-server-4.4.2_1: 100%
=====
Message from isc-dhcp44-server-4.4.2_1:

--
****  To setup dhcpd, please edit /usr/local/etc/dhcpd.conf.

****  This port installs the dhcp daemon, but doesn't invoke dhcpd by default.
      If you want to invoke dhcpd at startup, add these lines to /etc/rc.conf:

	    dhcpd_enable="YES"				# dhcpd enabled?
	    dhcpd_flags="-q"				# command option(s)
	    dhcpd_conf="/usr/local/etc/dhcpd.conf"	# configuration file
	    dhcpd_ifaces=""				# ethernet interface(s)
	    dhcpd_withumask="022"			# file creation mask

****  If compiled with paranoia support (the default), the following rc.conf
      options are also supported:

	    dhcpd_chuser_enable="YES"		# runs w/o privileges?
	    dhcpd_withuser="dhcpd"		# user name to run as
	    dhcpd_withgroup="dhcpd"		# group name to run as
	    dhcpd_chroot_enable="YES"		# runs chrooted?
	    dhcpd_devfs_enable="YES"		# use devfs if available?
	    dhcpd_rootdir="/var/db/dhcpd"	# directory to run in
	    dhcpd_includedir="<some_dir>"	# directory with config-
						  files to include

****  WARNING: never edit the chrooted or jailed dhcpd.conf file but
      /usr/local/etc/dhcpd.conf instead which is always copied where
      needed upon startup.
root@pifire001:~ #
update rc.conf
dhcpd_chuser_enable="YES"		# runs w/o privileges?
dhcpd_withuser="dhcpd"		# user name to run as
dhcpd_withgroup="dhcpd"		# group name to run as
dhcpd_chroot_enable="YES"		# runs chrooted?
dhcpd_devfs_enable="YES"		# use devfs if available?
dhcpd_rootdir="/var/db/dhcpd"	# directory to run in
dhcpd_enable="YES"
configure
Edit /usr/local/etc/dhcpd.conf and update it for your network.
dns
option domain-name "intern.stafnet.local";
option domain-name-servers 192.168.xxx.xxxx, 192.168.xxx,xxx, 192.168.xxx,xxx;
subnet
subnet 192.168.xxx.0 netmask 255.255.255.0 {
  range 192.168.xxx.100 192.168.xxx.254;
  option routers 192.168.xxx.1;
}
fixed ip addresses
host snuffel {
   hardware ethernet XX:XX:XX:XX:XX:XX;
   fixed-address 192.168.xxx.zzz;
}
start
root@pifire001:/usr/local/etc # /usr/local/etc/rc.d/isc-dhcpd start
Have fun!


Leave a comment